修改nginx的conf配置文件
1
2
3
4
5
6
7
8
9
10
11
12
13
14
15
16
17
18
| server {
listen 443 ssl; # 监听443端口
server_name gm.gzncpcc.xyz; #你的域名
ssl_certificate C:/gmssl/nginx-1.16.0/conf/ssl/gm.gzncpcc.xyz_bundle.crt; #ssl证书的crt文件路径
ssl_certificate_key c:/gmssl/nginx-1.16.0/conf/ssl/gm.gzncpcc.xyz.key;
ssl_certificate c:/gmssl/nginx-1.16.0/conf/ssl/gm.gzncpcc.xyz_bundle.pem; #ssl证书的pem文件路径
ssl_certificate_key c:/gmssl/nginx-1.16.0/conf/ssl/gm.gzncpcc.xyz.key;
#先配置签名证书,再配置加密证书,签名加密证书私钥 key 为同一个!
ssl_session_timeout 5m;
ssl_protocols TLSv1.2;
ssl_ciphers SM2-WITH-SMS4-SM3:ECDH:AESGCM:HIGH:MEDIUM:!RC4:!DH:!MD5:!aNULL:!eNULL;
ssl_prefer_server_ciphers on;
location / {
alias C:/Users/Administrator/Desktop/hexoblog/hexoblog/public/;
autoindex on;
}
}
|
关键代码
1
2
3
4
| location / {
alias C:/Users/Administrator/Desktop/hexoblog/hexoblog/public/;#资源目录
autoindex on;
}
|
不使用443端口,其他端口同理~·
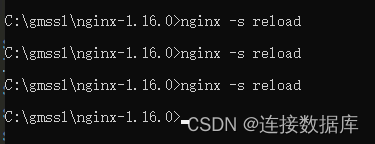
修改保存后重载一下nginx

这样本地写完博客hexo g就可以,不需要hexo d
适用于一台电脑既做生产力又做服务器的情况
最后附上我的博客~


